Transforming your kitchen can be an exciting and fulfilling endeavor! Whether you're looking to refresh a tired space or make a bold statement, understanding the options available to you is key. Dive into this guide to discover budget-friendly backsplash ideas that can elevate your kitchen without emptying your wallet.
What You Will Learn
Explore various budget-friendly materials for your kitchen backsplash, including tile, peel-and-stick options, and more.
Understand the pros and cons of popular backsplash materials like glass, stone, and wood to make informed choices.
Get a breakdown of costs associated with different materials to help you plan your renovation within budget.
Discover essential tools and materials you'll need to successfully complete your DIY backsplash project.
Learn maintenance tips tailored to each type of backsplash material to keep your kitchen looking fresh for years.
Find out how to align your backsplash choice with your skill level and the estimated time commitment needed for installation.
Comparing Backsplash Options: Skill, Time & Cost
Below is a comparative breakdown of popular backsplash materials, considering the skill level required, estimated installation time, and associated costs per square foot.
Peel-and-Stick Tiles
Skill Level: Beginner
Est. Time: 1-2 hours
Cost: $0.50 - $5/sq ft
Painted Faux Tile
Skill Level: Intermediate
Est. Time: 2-4 hours
Cost: $20 - $50 (paint & supplies)
Traditional Tile
Skill Level: Advanced
Est. Time: 4-8 hours
Cost: $1 - $15/sq ft
Wood Panels
Skill Level: Intermediate
Est. Time: 2-5 hours
Cost: $1 - $3/sq ft (Plywood)
Transform Your Kitchen Backsplash on a Budget: A Practical Guide
Is your kitchen feeling a bit bland? Transforming your kitchen backsplash can be a fun and rewarding project that doesn’t have to break the bank! Here, I’ll walk you through practical options and tips to create a stunning backsplash that reflects your style and fits your budget.
Let’s dive into some of the best budget-friendly backsplash materials that can elevate your kitchen’s look without costing you a fortune!
Understanding Your Options: Budget-Friendly Backsplash Materials
Before you start, it’s crucial to understand the different materials available for your backsplash. Here are some common options to consider, as highlighted by resources on Wikipedia's backsplash definition:
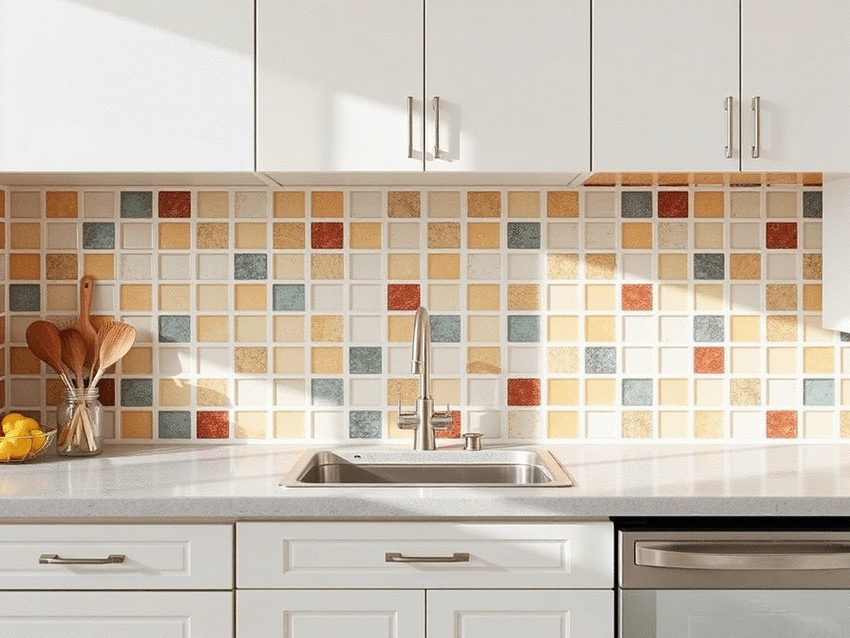
Tile: Classic and versatile, tiles come in various colors and patterns.
Peel-and-Stick: Quick and easy to apply, these tiles are perfect for DIY beginners.
Paint: A simple and cost-effective solution that allows for creativity!
Plywood: Use plywood for a rustic or farmhouse look. Just paint or stain to match!
Beadboard: Adds charm and can be painted for a personalized touch.
Metal Panels: Modern and sleek, metal can give your kitchen an industrial feel.
Each of these materials brings unique aesthetics and functionality. Choosing the right one will depend on your style preferences, budget, and how much effort you're willing to invest.
Exploring Popular Backsplash Materials: Tile, Glass, and More
Now that we’ve outlined some options, let’s analyze the pros and cons of popular materials to help you make informed choices, drawing inspiration from various kitchen backsplash ideas:
Tile: Durable and easy to clean, but can be labor-intensive to install.
Glass Tiles: Stylish and reflective, but may require special tools for cutting.
Stone: Natural beauty with unique patterns, but usually more expensive.
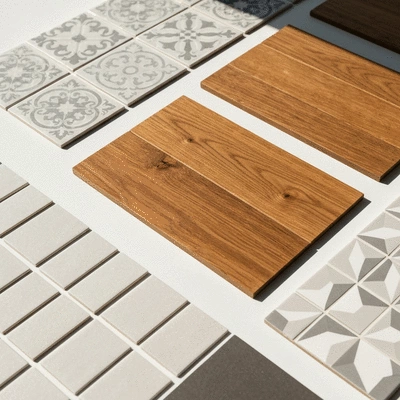
Wood Panels: Warmth and character, but may not hold up well to moisture unless treated.
Consider what matters most to you, whether it’s durability, ease of installation, or aesthetics. Each material has its own charm and challenges, so choose one that fits your vision!
Evaluating Costs: Making Informed Choices for Your DIY Project
Let’s break down the costs associated with each material so you can plan effectively:
Tile: $1 to $15 per square foot, depending on the type.
Peel-and-Stick: $0.50 to $5 per square foot, a great budget option!
Paint: $20 to $50 for quality paint and supplies.
Plywood: Around $1 to $3 per square foot, very budget-friendly!
Beadboard: $0.75 to $2 per linear foot, a charming choice!
Metal Panels: $5 to $20 per square foot, adds a modern touch.
By comparing these costs, you can make well-informed choices that align with your budget. Remember, the tools and installation costs may also factor into your total expenses, so keep that in mind!
Essential Tools and Materials for Your DIY Backsplash Project
Once you’ve chosen your material, it’s time to gather your tools and materials. Here’s a handy list to ensure you have everything you need for a smooth installation:
Trowel: Essential for applying mortar or adhesive.
Wet Saw: A must-have for precise tile cuts.
Adhesive: To securely attach your backsplash material.
Spacers: Keep your tiles evenly spaced during installation.
Grout: Fill gaps between tiles for a finished look.
Paint: If you’re going the paint route, make sure to choose a durable type!
Having the right tools will make your project not only easier but more enjoyable! So, gather these materials and get ready to unleash your creativity!
We Want to Hear From You!
As you consider your kitchen backsplash transformation, what material do you find most appealing? Share your thoughts below:
Frequently Asked Questions About Kitchen Backsplashes
What are the most budget-friendly backsplash materials?
Peel-and-stick tiles, paint, plywood, and beadboard are among the most cost-effective options, with prices ranging from $0.50 to $5 per square foot for peel-and-stick, and $20-$50 for paint supplies.
How much time does it take to install a DIY backsplash?
Installation time varies by material and skill level. Peel-and-stick tiles can take 1-2 hours, painted faux tile 2-4 hours, wood panels 2-5 hours, and traditional tile 4-8 hours.
What tools are essential for a DIY backsplash project?
Key tools include a trowel for adhesive, a wet saw for precise tile cuts, adhesive, spacers for even gaps, and grout for finishing. Paint and brushes are needed for painted backsplashes.
How do I maintain different types of backsplash materials?
Tile requires regular cleaning with mild detergents and annual grout sealing. Glass needs a simple glass cleaner. Wood benefits from monthly oiling to protect against moisture. Painted surfaces can be wiped with a damp cloth and touched up as needed.
Where can I find inspiration for my kitchen backsplash?
Online resources like YouTube DIY channels, Pinterest boards, and Instagram accounts dedicated to home improvement are excellent sources for ideas and techniques.
Summarizing Your Kitchen Transformation Journey
Long-Term Maintenance and Care for Your Backsplash
As you step back and admire your newly transformed kitchen backsplash, it's essential to consider how to keep that shine and beauty intact! Different materials require various care routines, as proper kitchen maintenance is a key part of any kitchen remodeling project, so let’s break them down:
Tile: Regular cleaning with mild detergents helps maintain its luster. Sealing grout lines annually is a must!
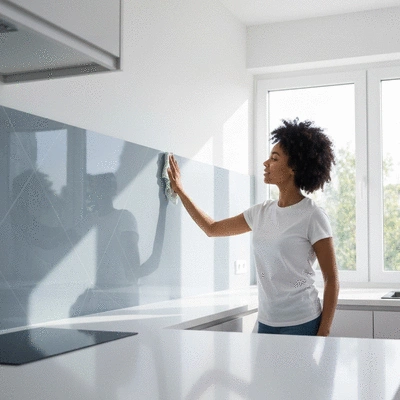
Glass: A simple glass cleaner will keep it sparkling. Just be cautious of scratches—use non-abrasive cloths.
Wood: Monthly oiling can protect against moisture. Avoid excessive water exposure to prevent warping.
Painted Surfaces: Use a damp cloth to wipe away stains, and touch up paint as needed to maintain the look.
By following these care tips, you can ensure that your backsplash remains a stunning focal point in your kitchen for years to come.
Making the Right Choice: Which Option Fits Your Skill Level?
Taking on a backsplash project can feel a bit daunting, but it’s all about finding the right fit for your skill level! Here’s a simple skill/time matrix that might help you decide:
Backsplash Option
Skill Level
Estimated Time
Peel-and-Stick Tiles
Beginner
1-2 hours
Painted Faux Tile
Intermediate
2-4 hours
Traditional Tile
Advanced
4-8 hours
Wood Panels
Intermediate
2-5 hours
When selecting your method, consider not only your skill level but also how much time you can dedicate to the project. Remember, it’s all about enjoying the process!
Budgeting for Your Kitchen Renovation: Cost Estimates and Planning
Now that you’ve got the inspiration and skills sorted out, let's talk about budgeting! Being financially savvy can lead to a successful renovation without breaking the bank. Here’s what to keep in mind:
Material Costs: Research prices for your chosen backsplash options to set realistic expectations.
Tool Acquisition: Factor in any tools you’ll need to purchase or rent. Sometimes, I find borrowing from friends can save a few bucks!
DIY Kits: Some stores offer complete kits that include all necessary items and instructions, which can simplify budgeting.
Unexpected Expenses: Always allocate a small percentage of your budget for surprises—because let’s be honest, they happen!
By planning ahead, you can ensure your kitchen renovation stays on track financially!
Encouraging Informed DIY Projects: Your Next Steps
Getting Started with Your Budget-Friendly Backsplash
Feeling ready to dive in? Let’s get you started! Take a moment to choose your preferred material based on what resonates most with you, and gather the tools listed earlier. Remember, starting with a clear plan can set the tone for your entire project.
Engage and Share Your Backsplash Project
I’d love to hear about your projects! Share your completed backsplash photos or ask any questions you have along the way. By building a community around DIY kitchen transformations, we can all inspire each other to create more beautiful spaces!
Finding Inspiration: Online Tutorials and DIY Blogs
For those extra bursts of creativity, check out resources like YouTube DIY channels, Pinterest boards, and Instagram accounts dedicated to home improvement. These platforms are filled with ideas that can fuel your imagination and help you discover new techniques!
So, what are you waiting for? Let’s get those creative juices flowing and transform your kitchen together! The possibilities are endless!
Recap of Key Points
Here is a quick recap of the important points discussed in the article:
Explore Budget-Friendly Materials: Consider options like tile, peel-and-stick, paint, plywood, beadboard, and metal panels for a cost-effective backsplash.
Evaluate Costs: Understand the price range for each material and plan your budget accordingly, keeping in mind additional tool and installation costs.
Gather Essential Tools: Ensure you have necessary tools like trowels, wet saws, adhesive, spacers, and grout for a smooth installation process.
Maintenance Matters: Follow specific care routines based on the material to keep your backsplash looking fresh and vibrant over time.
Choose Based on Skill Level: Select a backsplash option that matches your DIY skill level and the time you can dedicate to the project.